RACING STRIPES • PRODUCTION AND INSTALLATION
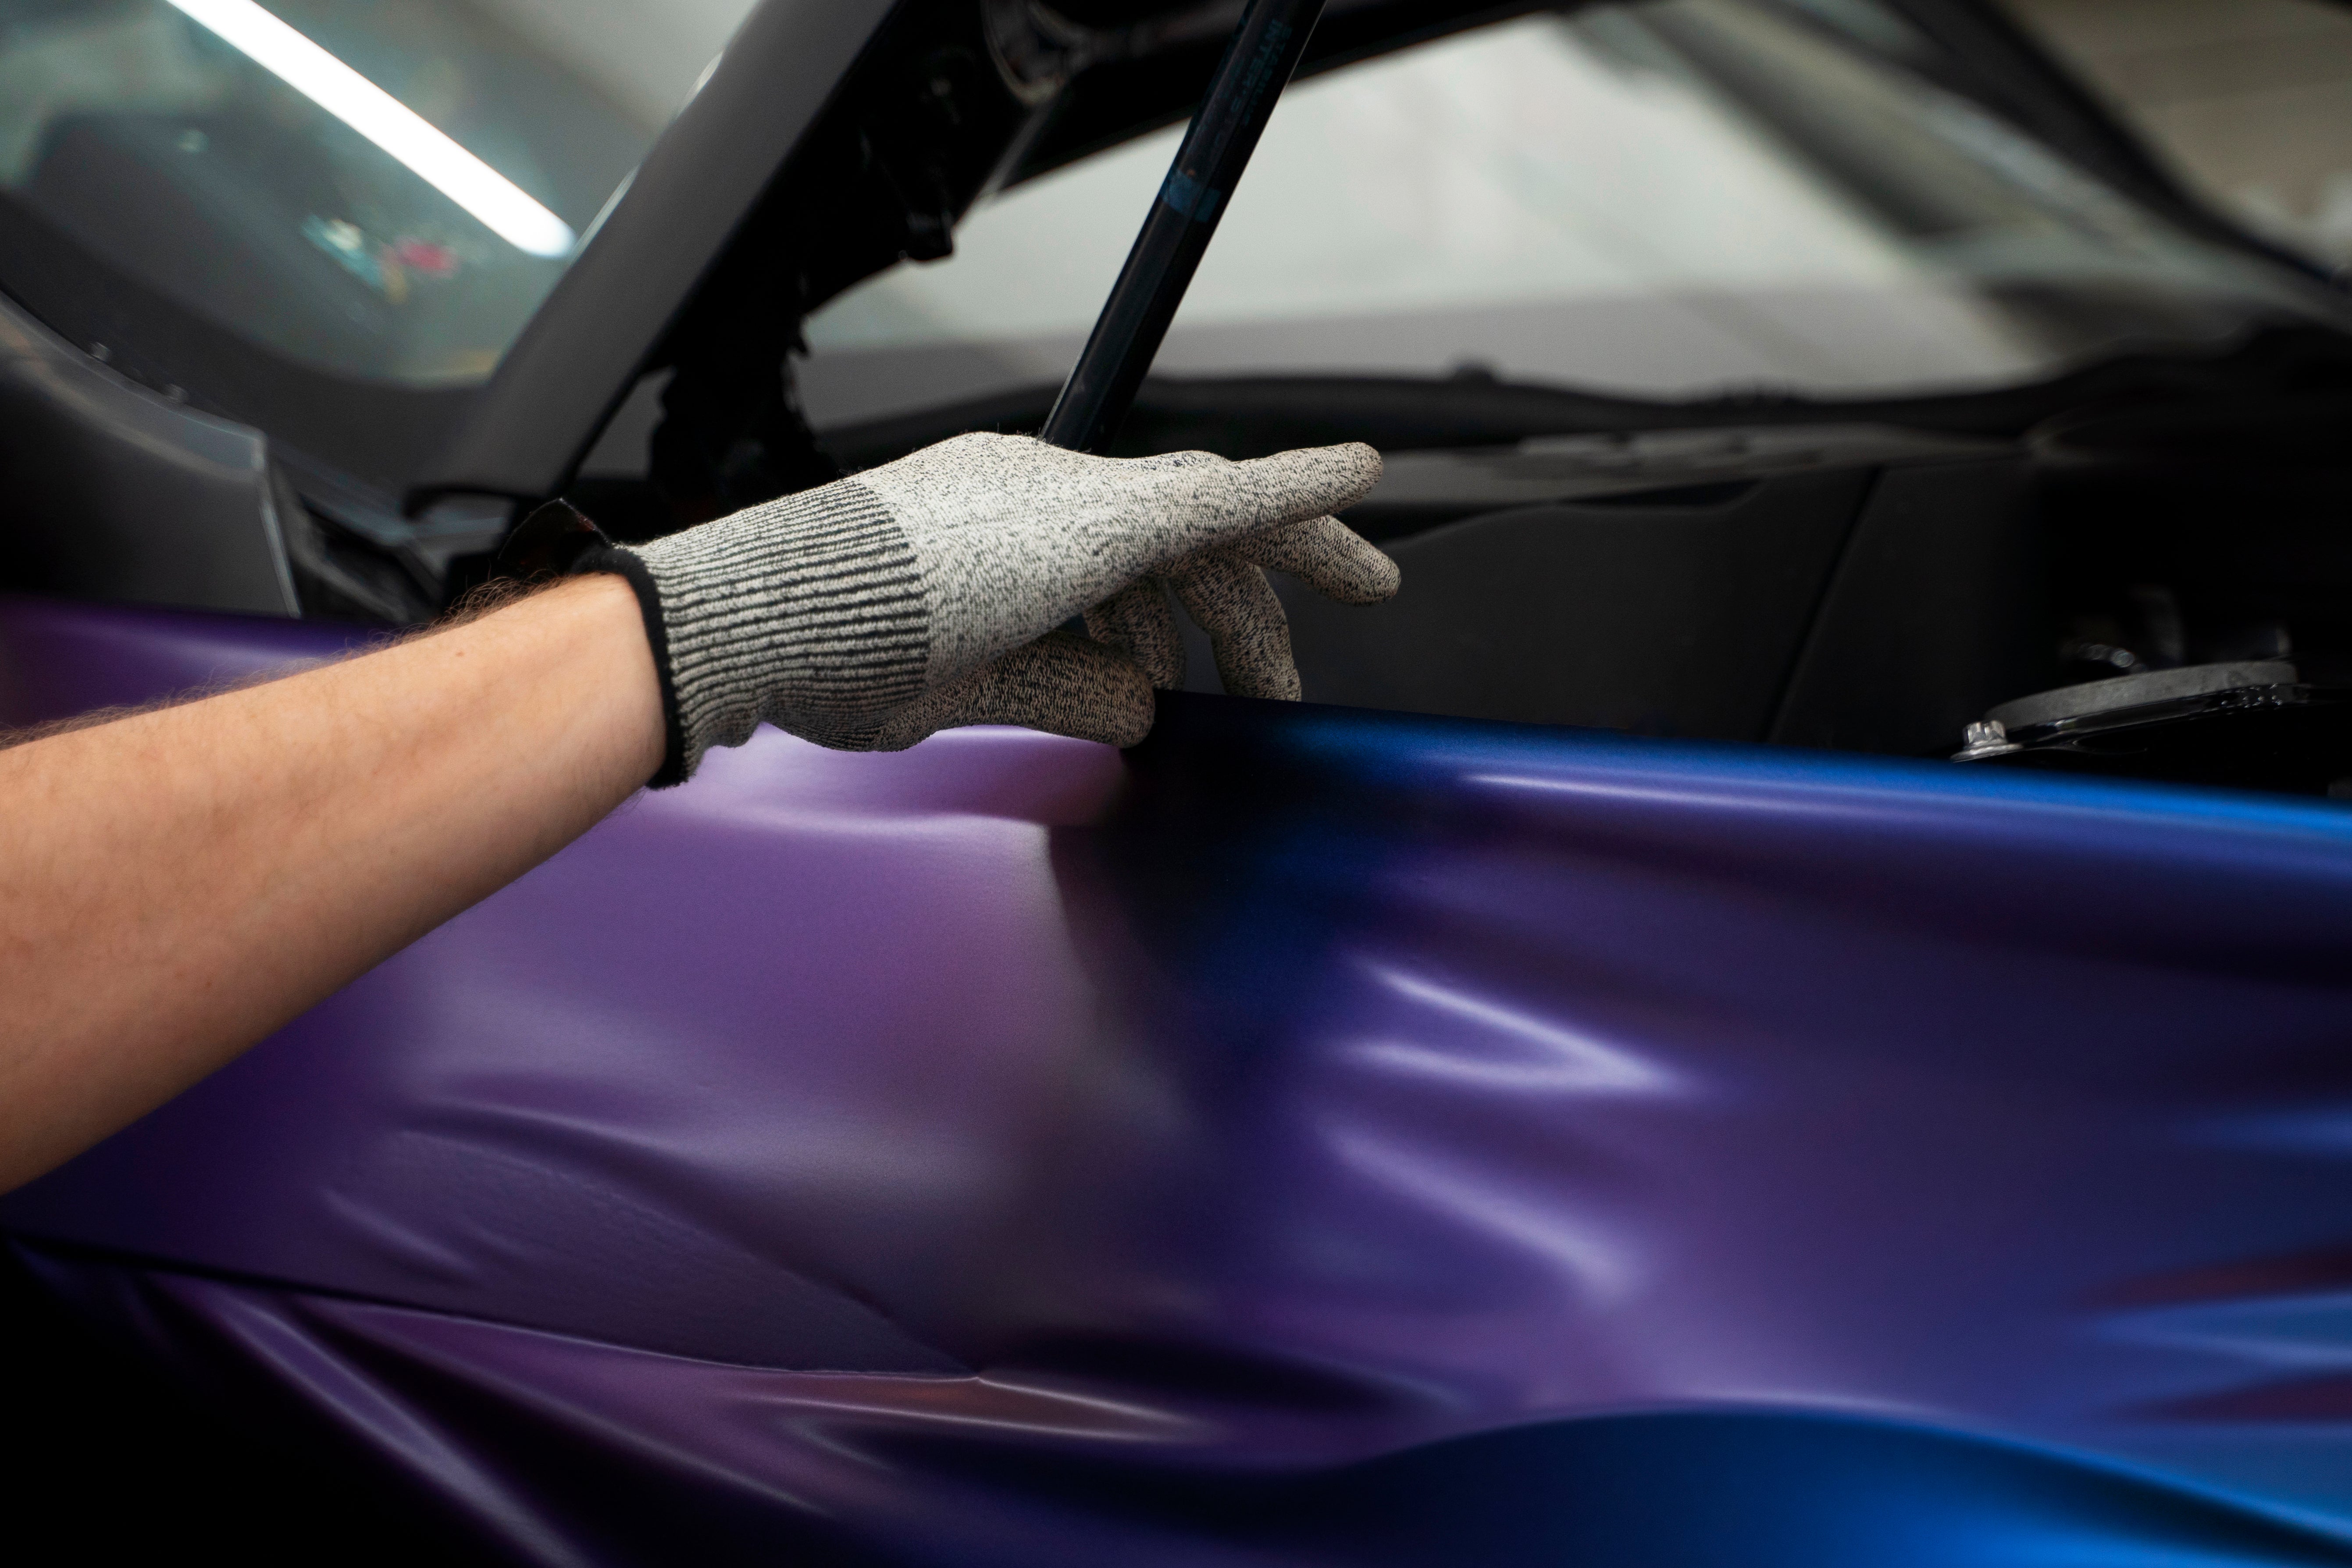
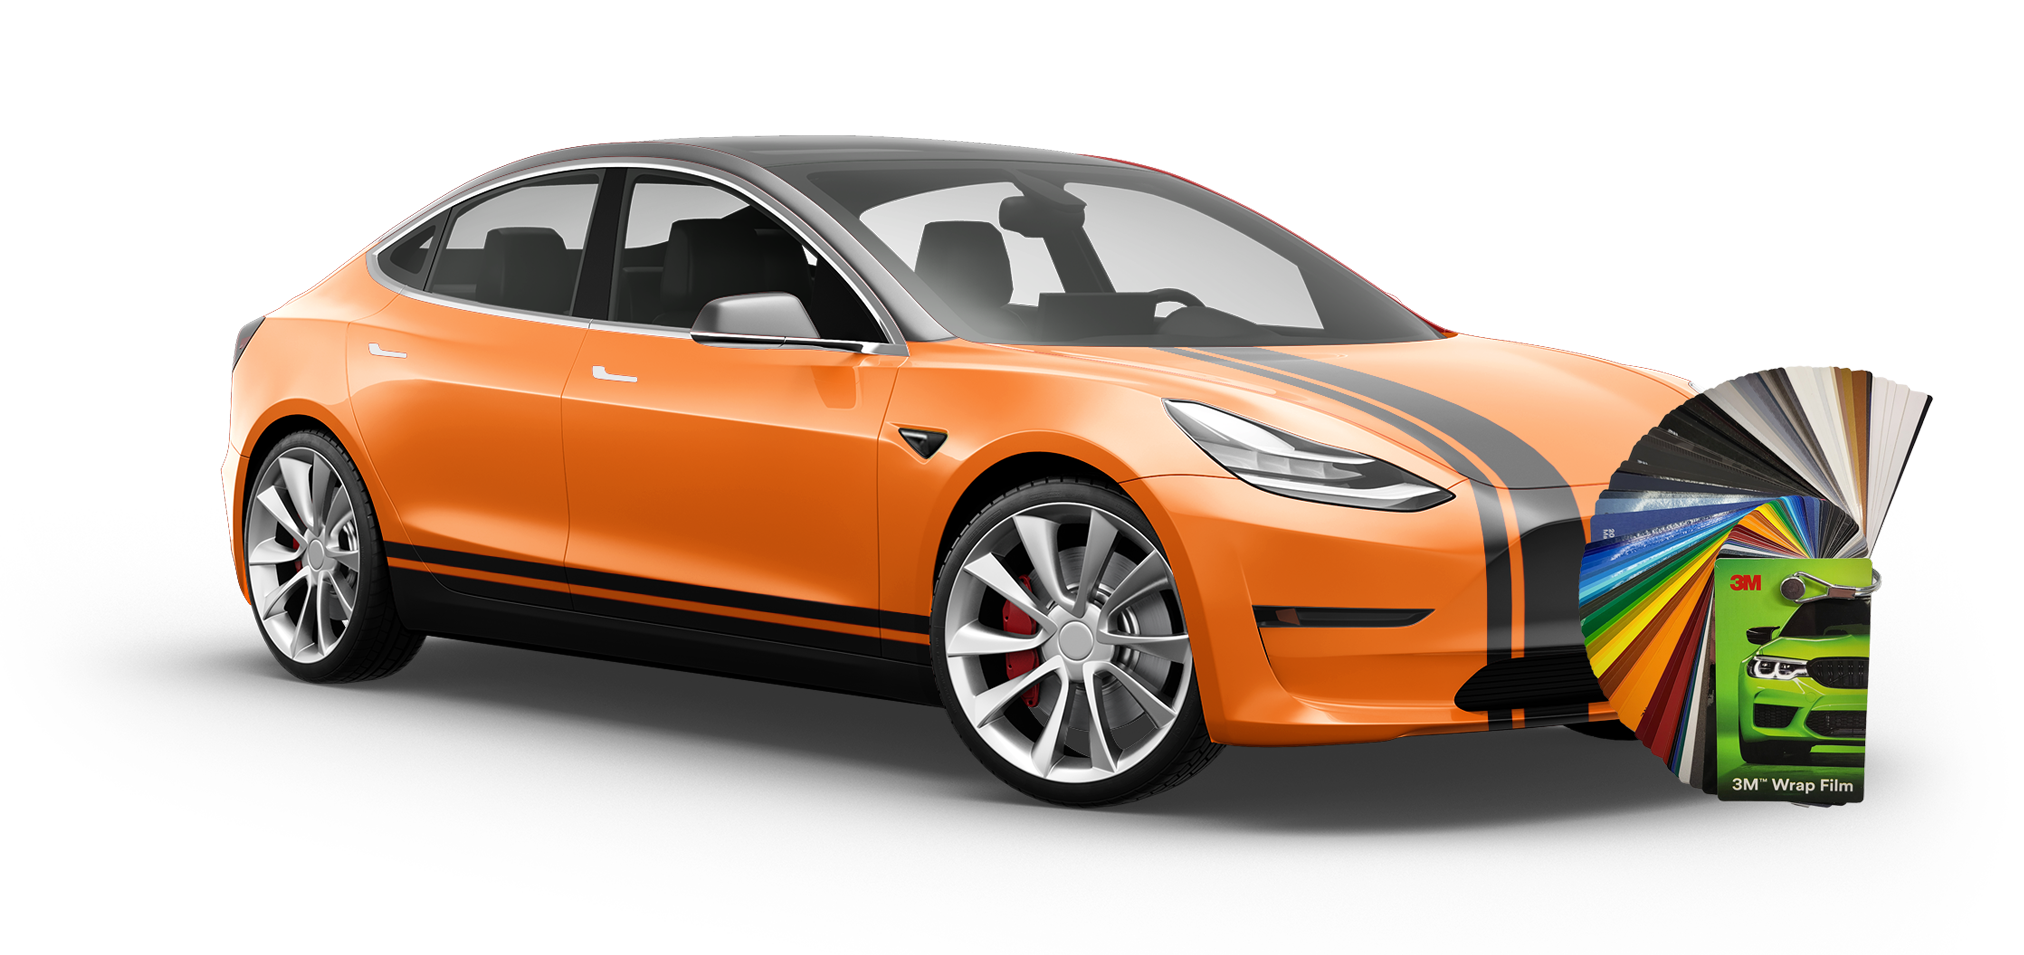
Discover the versatility of vinyl, a material that can effortlessly elevate your personal style and expression. Our curated selection of vinyl wraps and films encompasses an extensive array of colors, patterns, and textures, providing endless possibilities for customization.
Cost-Effective Alternative to Repainting
Repainting a vehicle can be expensive and time-consuming. A full-color vehicle wrap provides a cost-effective solution to change the appearance of your vehicle without the high costs associated with a traditional paint job.
Endless Customization
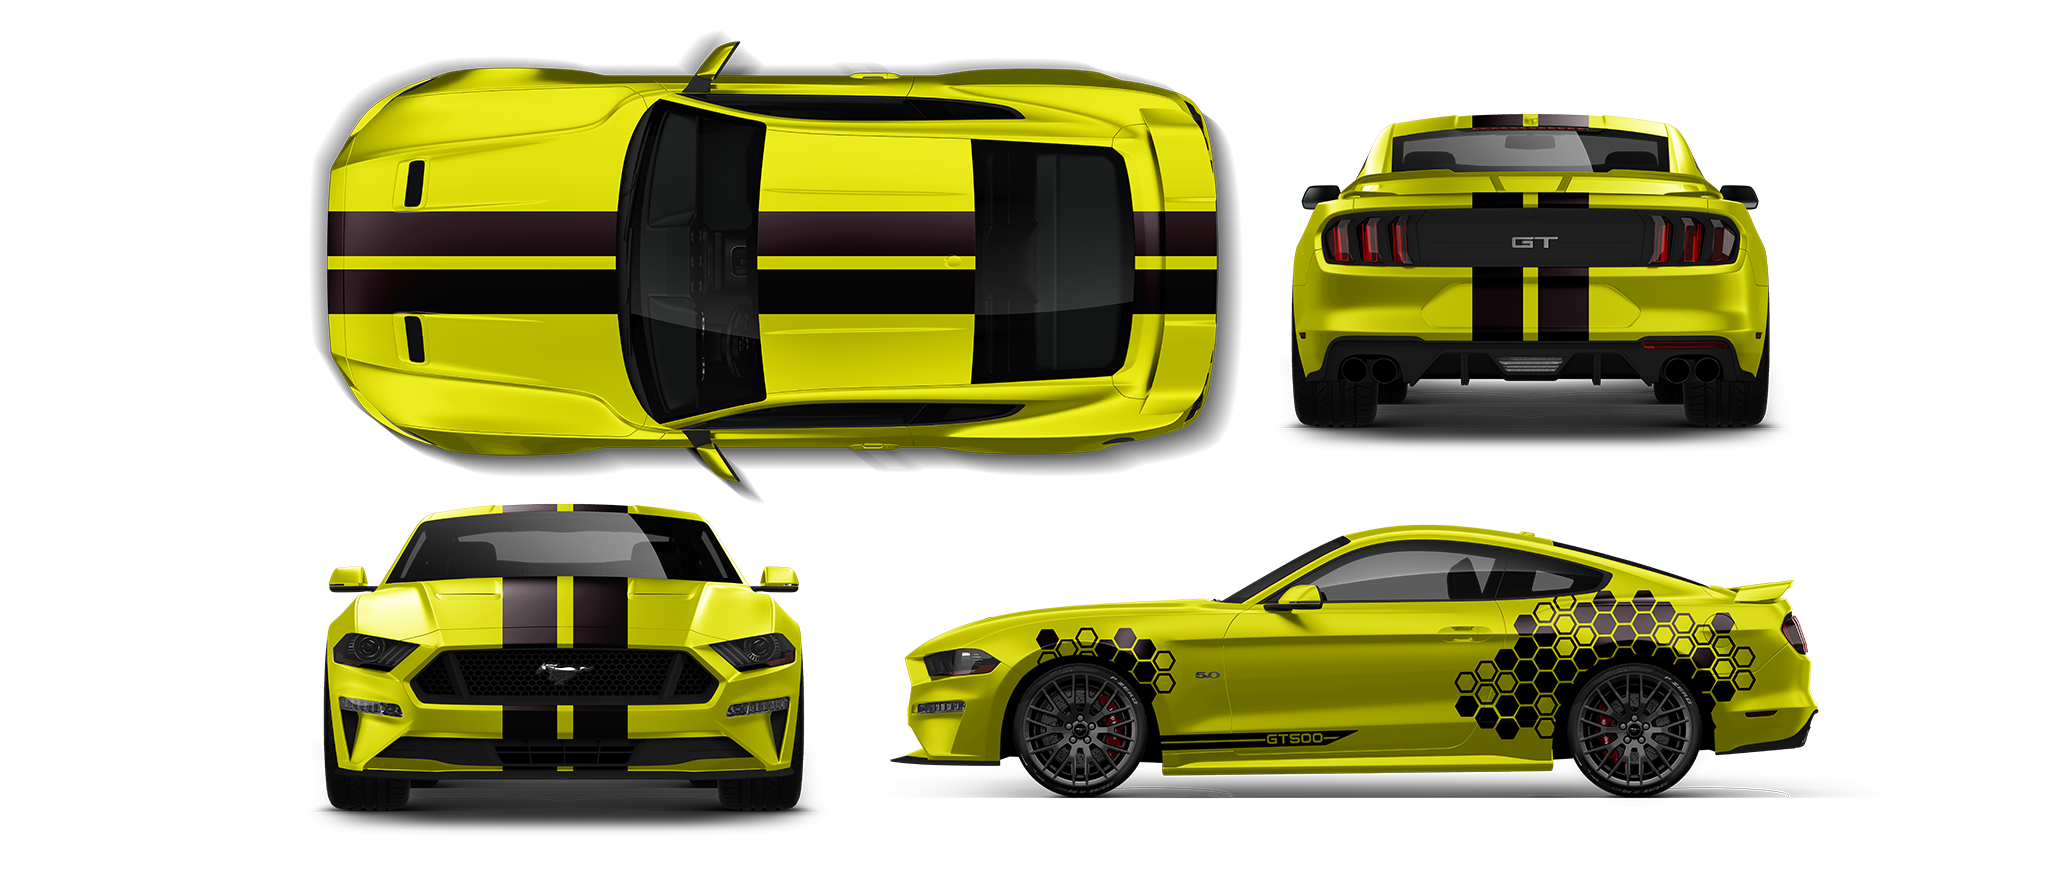
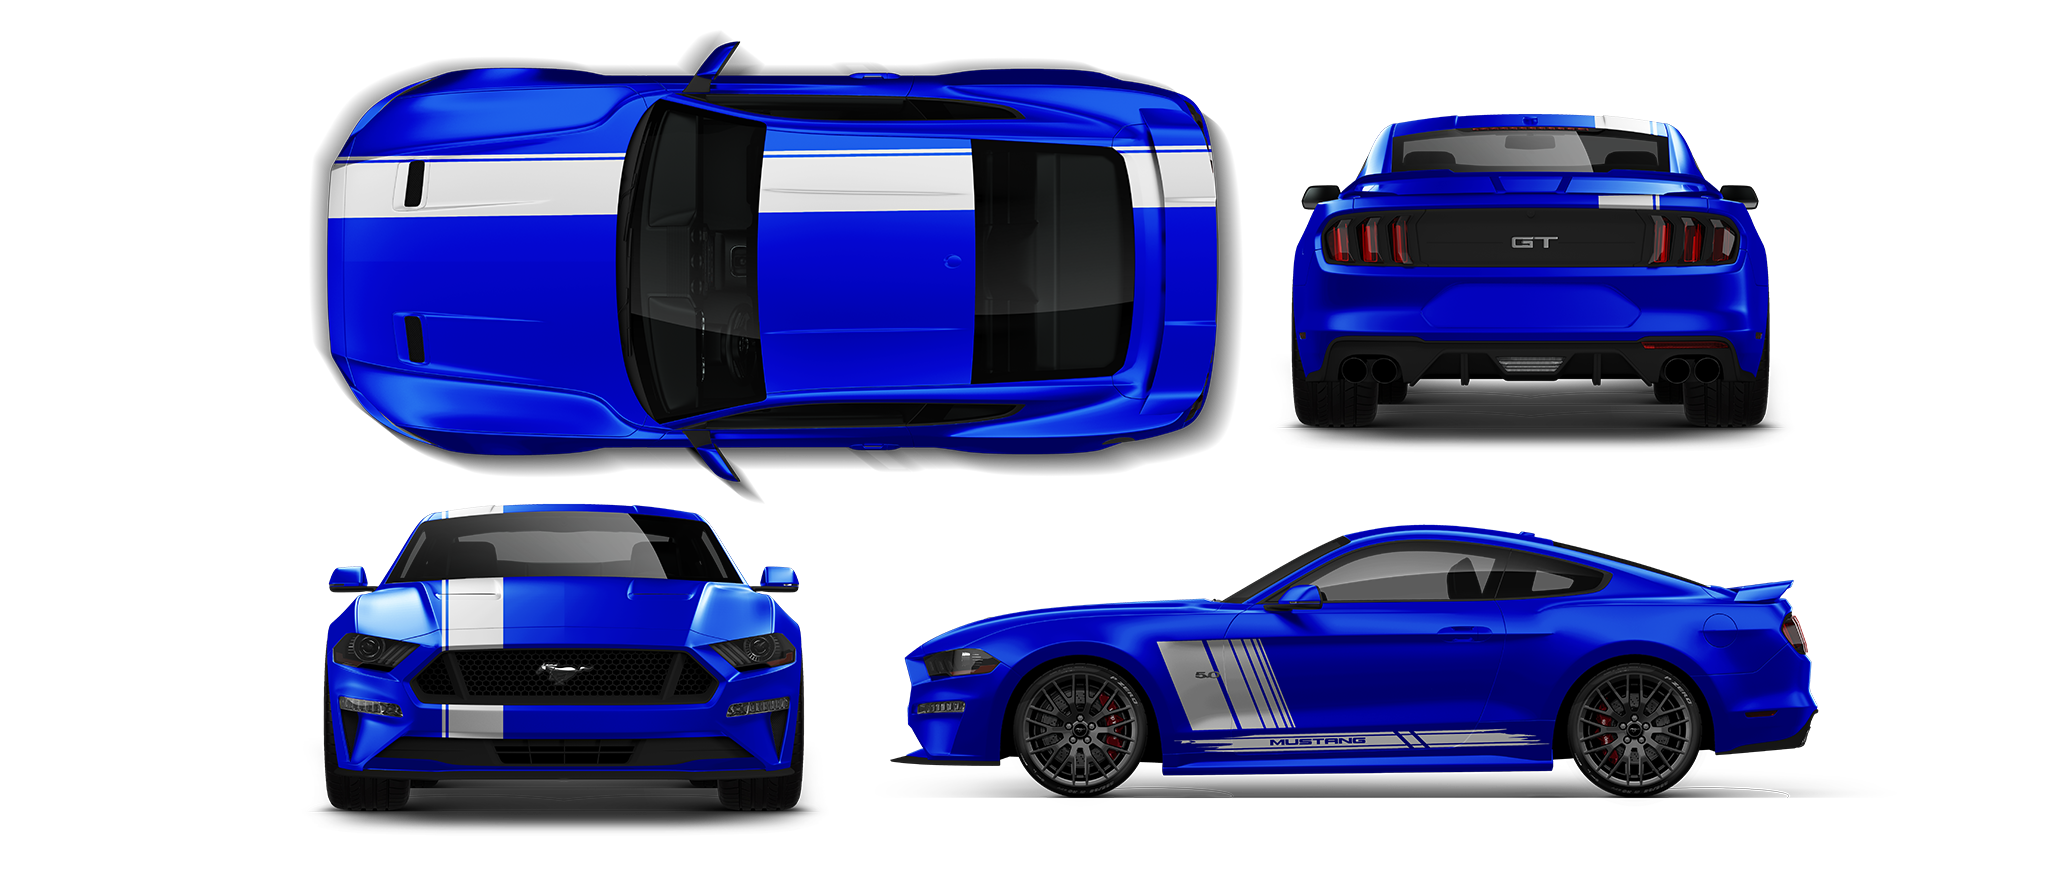
Vehicle wraps allow you to choose from a wide range of colors, patterns, and finishes that may not be available with traditional paint options. This level of customization enables you to create a truly unique and personalized look for your vehicle.
Variety of Finishes
Full-color vehicle wraps come in a variety of finishes, including matte, gloss, satin, metallic, and more. This variety allows you to achieve the exact look you desire for your vehicle, enhancing its visual appeal.
Non-Permanent Change
One of the most significant benefits of a full-color vehicle wrap is that it's not permanent. If you decide you want a different color or design, you can remove the wrap without affecting the original paint underneath.